
Jump on in for more details!
Further proof that an idea can spark at the most random time. I was watching Lock Stock and Two Smoking Barrels for the six thousandth time when the idea struck.

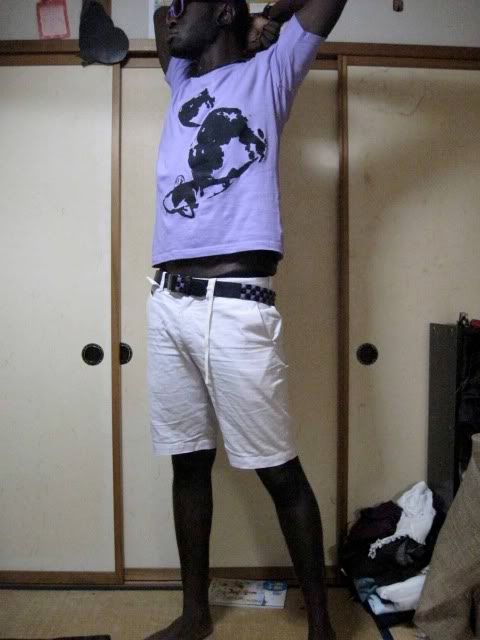
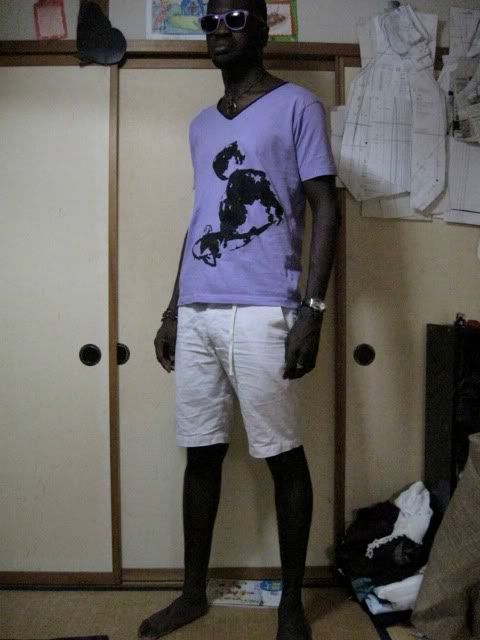
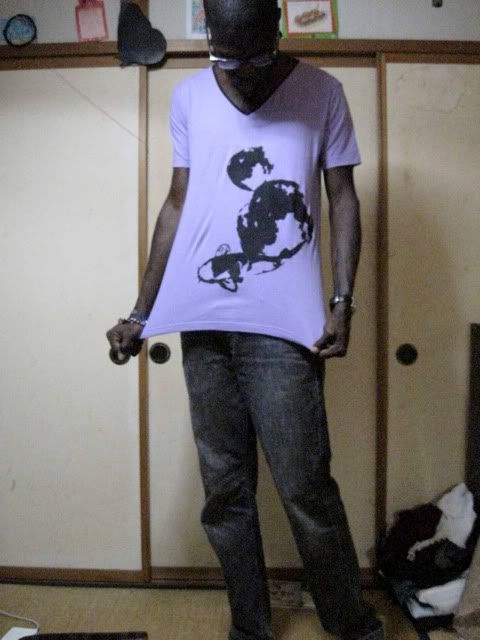
Pictured above is the album cover of 'From Mars to Sirius' by Gojira. I played at a few jam sessions with the band Anthirium while living in Jamaica, and this band was one of the guitarist's favourites. While the music is so-so to my ears I instantly fell in love with the album cover.

I whipped up the above picture shortly there after. A combination of two pictures found via Google Image then stencil-fied. There are many stencil tutorials out there so rather than write my own, you can find a great one here. As a pre-caution make sure the image that you work with is big to prevent loss of detail when you eventually print it.
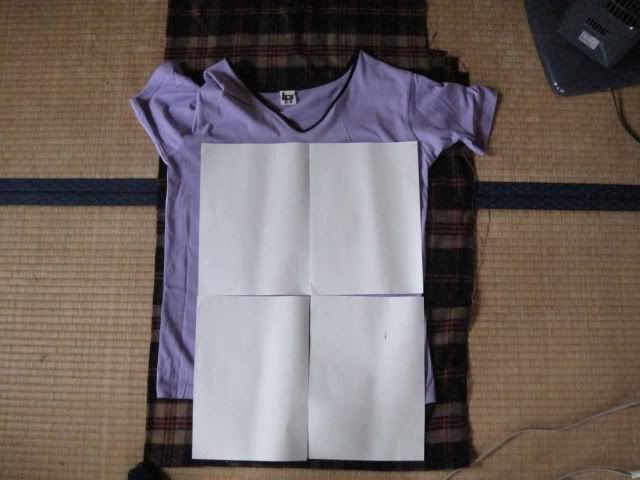
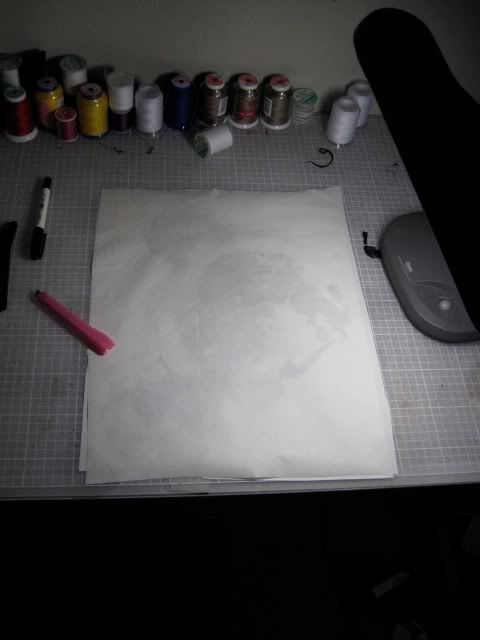
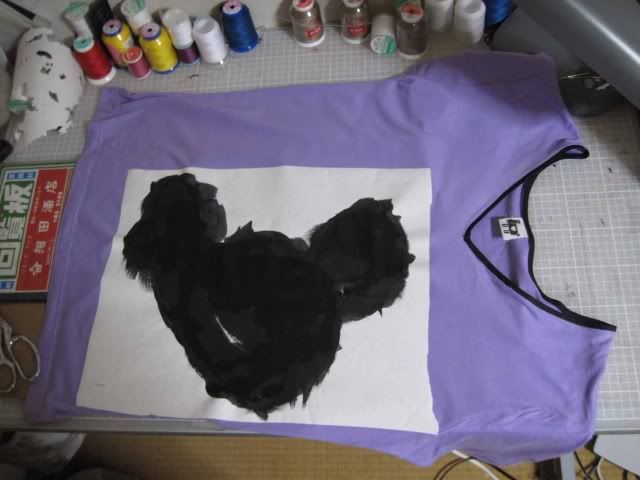
You first must decided how big you want the image to appear, and its location on the shirt. You can't see it in the picture above, but I drew a square box on the paper in pencil. This also helps gauge how to split the image. In this case I split the image into four parts.
You will want to do this using the same photo editor used to stencilfy the image.
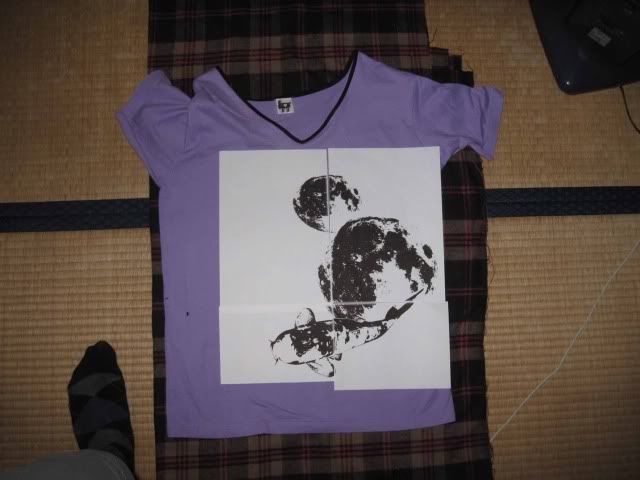
To put everything together, use a word processor such as Microsoft Word or Open Office. Set the borders to either end of the page both top and bottom. Insert each image on its own page to creating a kind of mosaic. Make sure the dimensions are the same or close to it. Print your four pages. There might be a border set around each page, cut these off then tape your pages together. When all is said and done you should have something like this:
The next thing you'll need is wax paper. My weapon of choice is this:

Used mainly for baking, it has one waxy side and the other side has a texture similar to paper. Tape your new stencil unto a cutting board or a surface that you don't mind taking the abuse of a sharp stencil knife.

Get your stencil knife and get to it!!! You're going to want to cut out the black parts only.
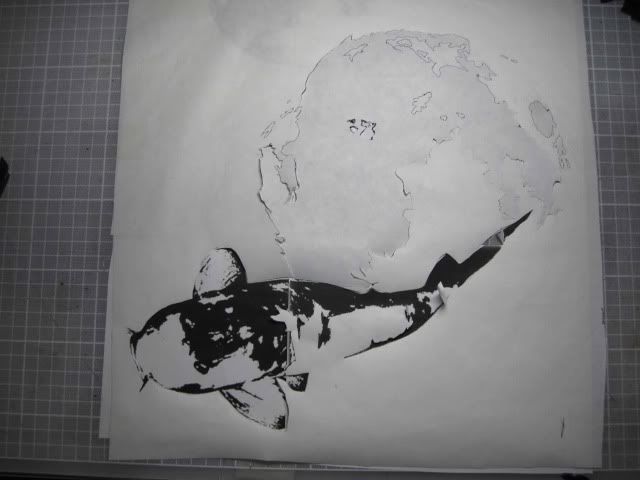
If you peeked the tutorial, there should be a section that talks about adding bridges to your stencil; making it easier to cut. This stencil was one of the hardest I've ever done as there isn't really any bridges and I tried to keep as much detail in the image as possible.
When you're done (delicately) cutting the image unto the wax paper, lay it down on the tee in the position you desire. Be sure to press your tee before doing this by the way. You don't want any bumps for this part. Set your iron to no steam then press the wax paper unto the shirt. The wax part will stick to the shirt and you'll end up with this:
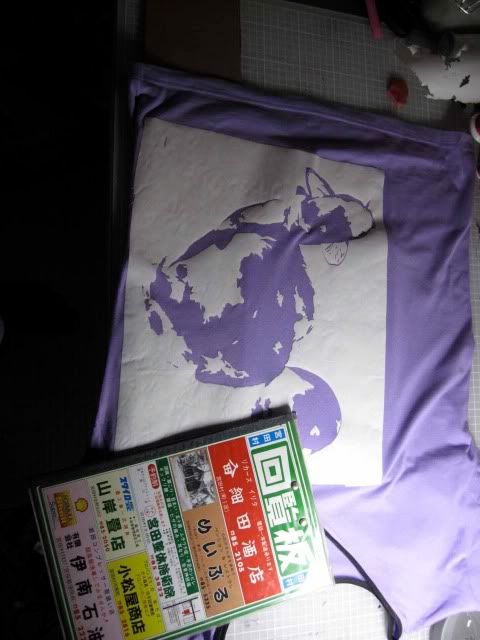
Depending on the stencil, you might need to cut itty pieces to add more detail to your cut out (as seen above).
Now all you'll need is your brush and paint. I used acrylic with a slight dab of water to thin it out. Find some cardboard, old books or something you don't mind getting paint on. You'll need it to place on the inside of the tee so the paint doesn't bleed to the back of the tee.
Go watch a movie, take a walk or visit your local onsen and soak your bones....
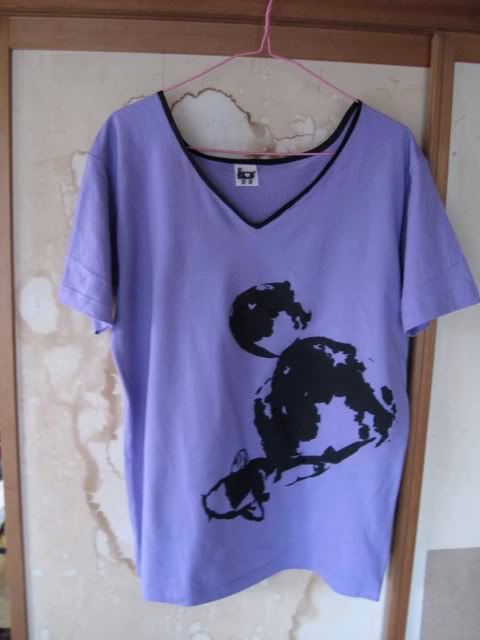
When she's dry carefully peal the wax paper off. I used my stencil knife for the itty bits.
Cheers!
Thanks for viewing!
No comments:
Post a Comment